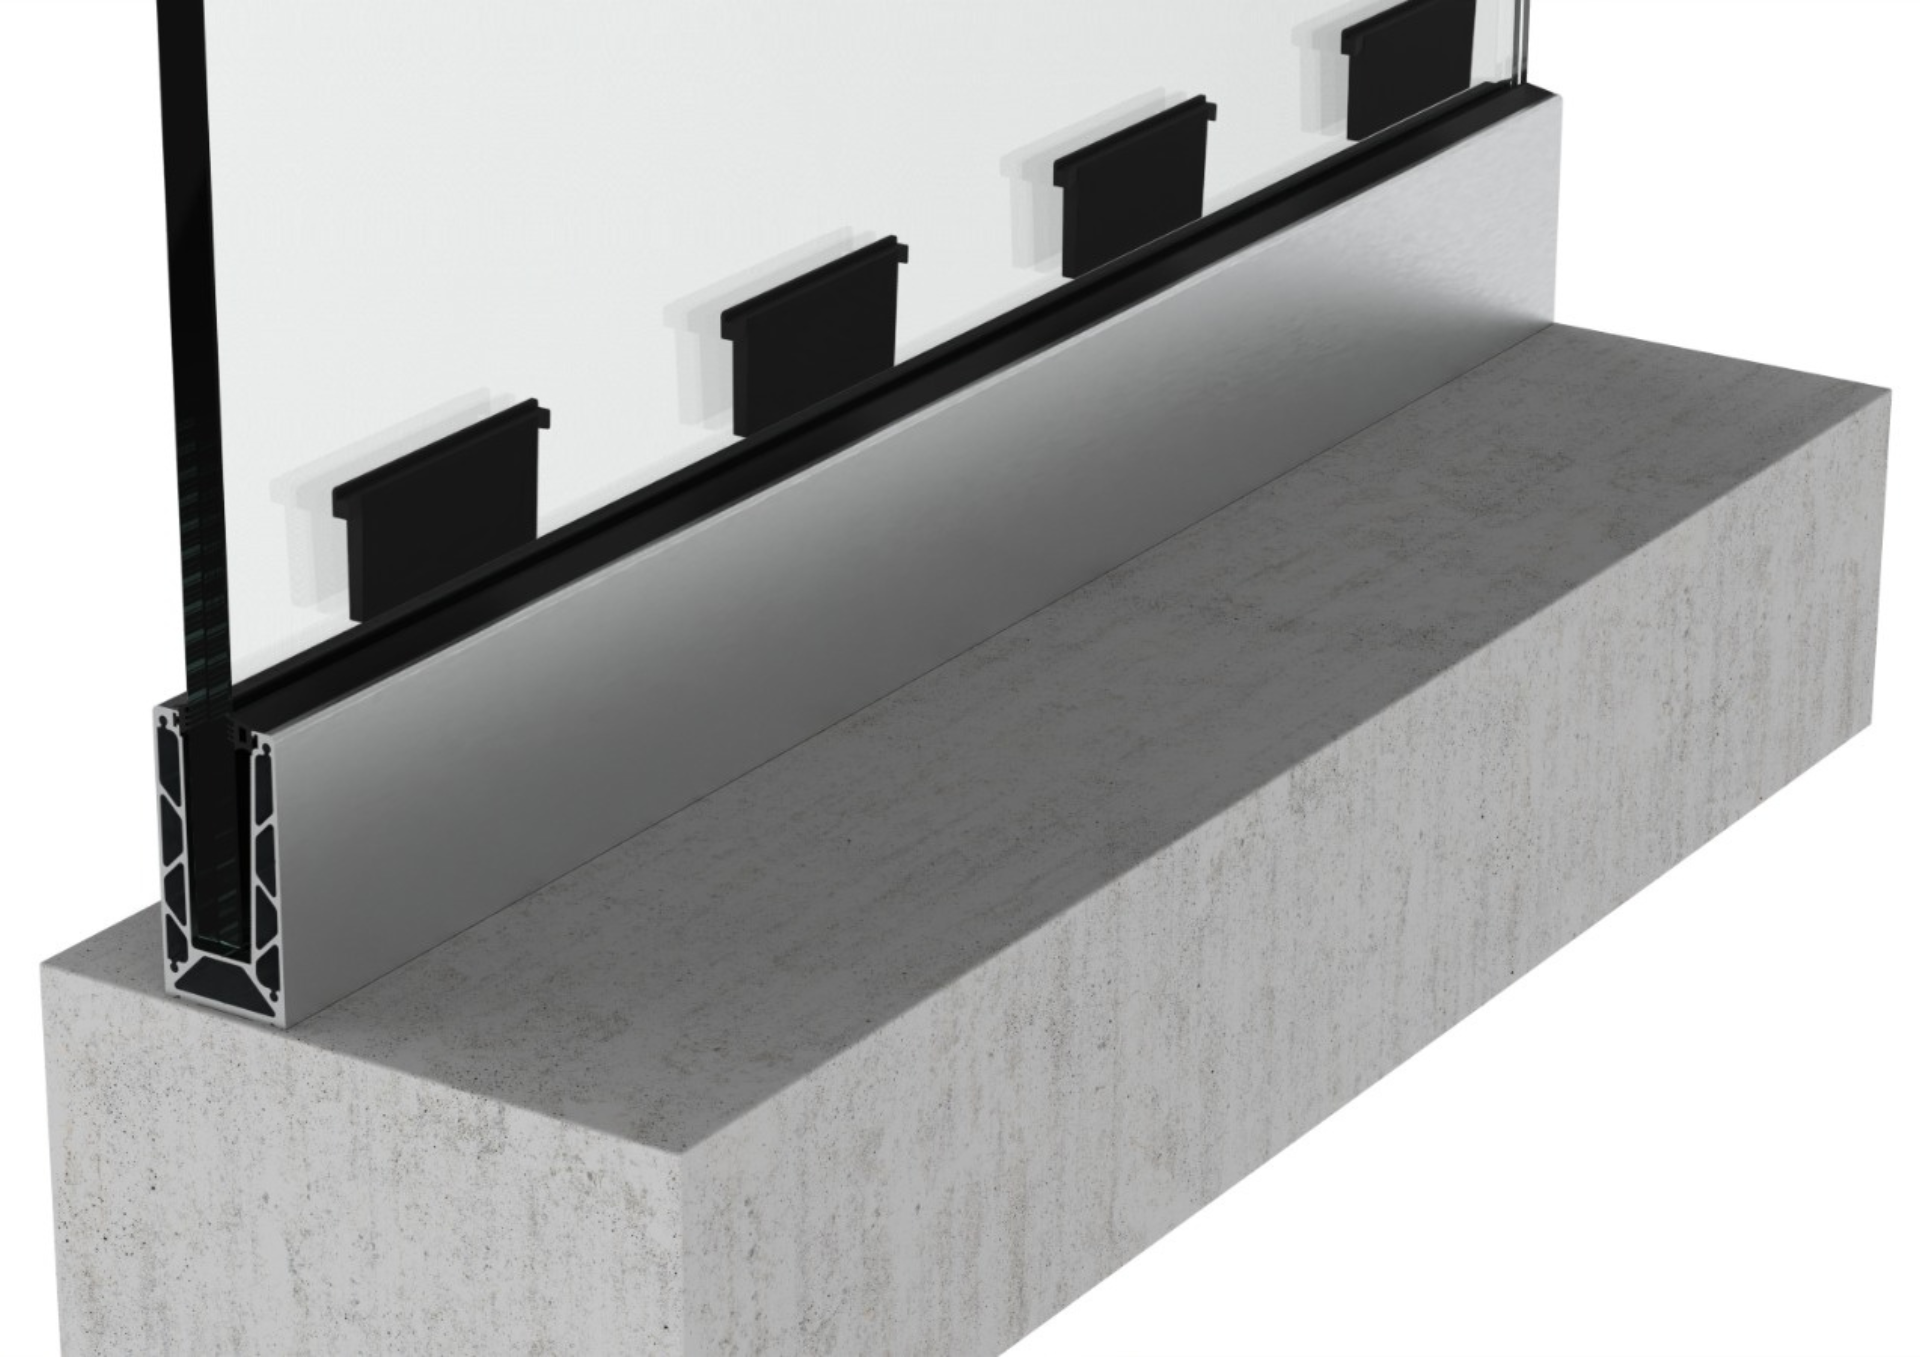
EASY-A
Drill the holes, clean around them and prepare the surface for installation. This is a key step in ensuring the glass railing is securely fixed.

Once you have prepared the surface, place the profile in position and secure it firmly using a torque wrench. For optimum fastening, use a wrench with a torque setting of 40 Nm. This will ensure the correct tension and stability of the assembly.

Add a rubber gasket and rear plastic insert to provide additional protection and stability to the assembly. Then insert the glass into the profile with care and secure it with the appropriate fasteners.

Once you have secured the glass, insert the adjustable system that will allow you to adjust its position relative to the profile and the environment. Carefully align the glass to ensure proper positioning and functionality. This is an important step in ensuring the proper operation and visual appearance of the glass railing.

Insert the internal rubber gasket into the profile which will provide additional protection and seal the assembly. Next, install the end caps which will conceal the ends of the profile and complete the look of the glass railing. This completes the last steps of the assembly process and provides a finished and functional appearance to the railing.

Your railing is ready for use! Enjoy the safety and beauty it will add to your space. If you have any questions or need further assistance, don't hesitate to contact us.

WEDGE-F
Drill the holes, clean around them and prepare the surface for installation. This is a key step in ensuring the glass railing is securely fixed.

Once you have prepared the surface, place the profile in position and secure it firmly using a torque wrench. For optimum fastening, use a wrench with a torque setting of 40 Nm. This will ensure the correct tension and stability of the assembly.

Add a rubber gasket and rear plastic insert to provide additional protection and stability to the assembly. Then insert the glass into the profile with care and secure it with the appropriate fasteners.

Hit the inside wedges without causing damage on the glass until it is perfectly secured in the profile. The inside wedges will be placed facing the edges.

Insert the internal rubber gasket into the profile which will provide additional protection and seal the assembly. Next, install the end caps which will conceal the ends of the profile and complete the look of the glass railing. This completes the last steps of the assembly process and provides a finished and functional appearance to the railing.

Your railing is ready for use! Enjoy the safety and beauty it will add to your space. If you have any questions or need further assistance, don't hesitate to contact us.


